The first step to implement the EZDD Database in SQL Server is to establish the EZDD database in SQL Server by using the SQL Server Import utility. The backup file to use is located in the default installation at C:\EZDD\Databases\SQL Server Files\EZDD_2011_SQL_Server.bak.
Run SQL Server Management Studio (either 2005 or 2008), then sign on to your Server using the normal sign on screen. The server in the example below is called INVESTCON01\ICC . Using either Windows Authentication or SQL Server Authentication, supply the user name and password, if necessary, and click Connect.

Next right click the Databases folder, click Restore Database, and the screen below appears:
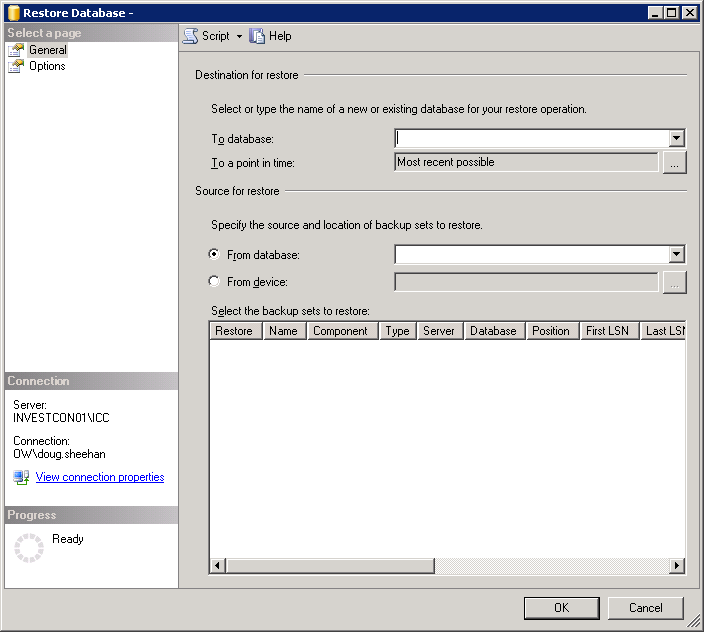
Fill in the text box for the To Database with the name to be used, click on the radio button for From Device, and then click on the Ellipsis as shown below:

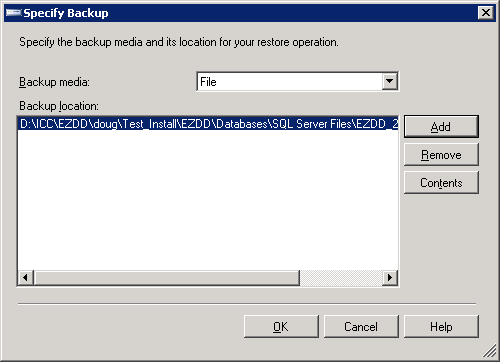
Now, click on the Add Button on the screen below:

Next navigate to the location for the file EZDD_2011_SQL_Server.bak, and click OK.

This screen appears. Click OK.
This screen appears. Click the box for Restore, and click OK.

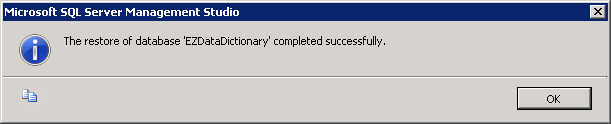
When the restore is complete, click OK.
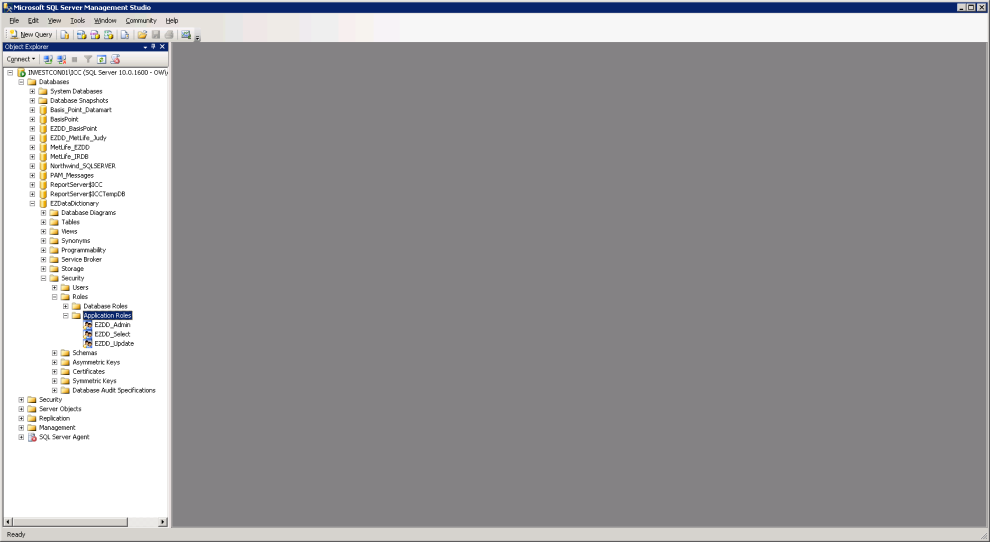
The new EZDataDictionary Database should now appear in your list of Databases:

Within your database, as shown on the screen below, the three roles of EZDD_Admin, EZDD_Select and EZDD_Update will appear.
Once the database is established, it will be important to assign users to these roles using the following guidelines.
1. EZDD_Admin. This is the role assigned to the EZ Data Dictionary administrator who has authority to add included databases to the EZDD database, as well as to perform all other administrative functions in the program EZDD_Admin.
2. EZDD_Select. This is the role assigned to all users who will be able to run the EZDD_Inquiry program and view the metadata. This will not give them authority to update any of the definitions.
3. EZDD_Update. This is the role assigned to all users who will be able to update definitions, user notes, etc. in the EZDD database.
These roles will already be established after the database is imported into SQL Server with the commands in the file ezdd_roles.txt. The roles but can be changed or renamed using similar commands.
ezdd_roles.txt:
grant select on Admin_Users to EZDD_Select;
grant select on Columns to EZDD_Select;
grant select on Configuration to EZDD_Select;
grant select on Database_Authority to EZDD_Select;
grant select on Databases to EZDD_Select;
grant select on EZDD_Configuration to EZDD_Select;
grant select on Indexes to EZDD_Select;
grant select on Interface_Columns to EZDD_Select;
grant select on Interfaces to EZDD_Select;
grant select on Lookup_Tables to EZDD_Select;
grant select on Relationships to EZDD_Select;
grant select on Report_Template to EZDD_Select;
grant select on Tables to EZDD_Select;
grant select on Translations to EZDD_Select;
grant select on Work_Columns to EZDD_Select;
grant select on Work_Indexes to EZDD_Select;
grant select on Work_Relationships to EZDD_Select;
grant select on Work_Tables to EZDD_Select;
grant update on Admin_Users to EZDD_update;
grant update on Columns to EZDD_update;
grant update on Configuration to EZDD_update;
grant update on Database_Authority to EZDD_update;
grant update on Databases to EZDD_update;
grant update on EZDD_Configuration to EZDD_update;
grant update on Indexes to EZDD_update;
grant update on Interface_Columns to EZDD_update;
grant update on Interfaces to EZDD_update;
grant update on Lookup_Tables to EZDD_update;
grant update on Relationships to EZDD_update;
grant update on Report_Template to EZDD_update;
grant update on Tables to EZDD_update;
grant update on Translations to EZDD_update;
grant update on Work_Columns to EZDD_update;
grant update on Work_Indexes to EZDD_update;
grant update on Work_Relationships to EZDD_update;
grant update on Work_Tables to EZDD_update;
grant Select,Update,insert,delete on Admin_Users to EZDD_Admin;
grant Select,Update,insert,delete on Columns to EZDD_Admin;
grant Select,Update,insert,delete on Configuration to EZDD_Admin;
grant Select,Update,insert,delete on Database_Authority to EZDD_Admin;
grant Select,Update,insert,delete on Databases to EZDD_Admin;
grant Select,Update,insert,delete on EZDD_Configuration to EZDD_Admin;
grant Select,Update,insert,delete on Indexes to EZDD_Admin;
grant Select,Update,insert,delete on Interface_Columns to EZDD_Admin;
grant Select,Update,insert,delete on Interfaces to EZDD_Admin;
grant Select,Update,insert,delete on Lookup_Tables to EZDD_Admin;
grant Select,Update,insert,delete on Relationships to EZDD_Admin;
grant Select,Update,insert,delete on Report_Template to EZDD_Admin;
grant Select,Update,insert,delete on Tables to EZDD_Admin;
grant Select,Update,insert,delete on Translations to EZDD_Admin;
grant Select,Update,insert,delete on Work_Columns to EZDD_Admin;
grant Select,Update,insert,delete on Work_Indexes to EZDD_Admin;
grant Select,Update,insert,delete on Work_Relationships to EZDD_Admin;
grant Select,Update,insert,delete on Work_Tables to EZDD_Admin;
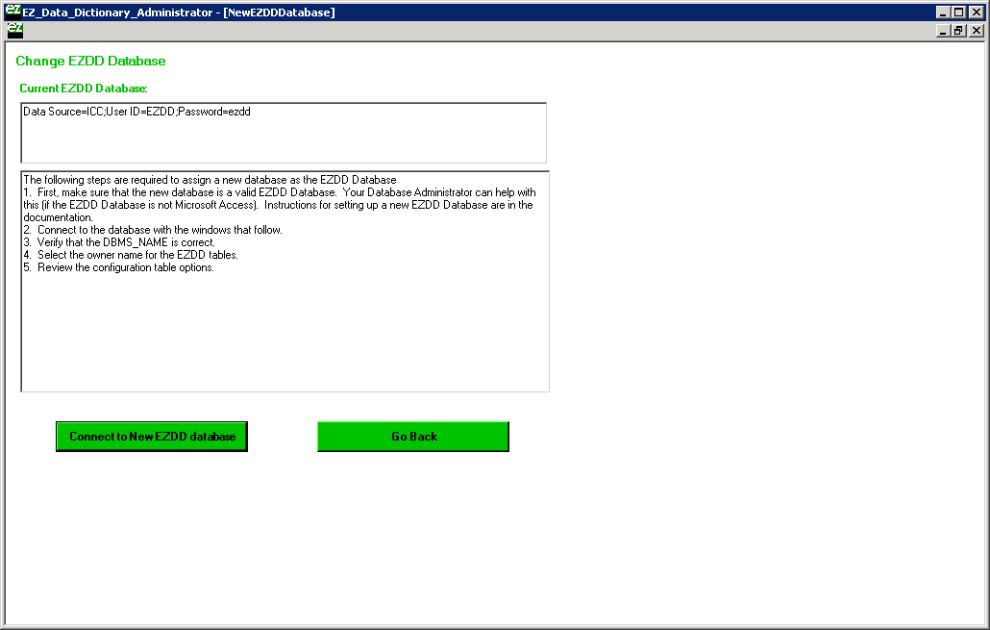
Once the EZDD database is created in SQL Server, the software can be modified to use this particular EZDD database. This is done by running the EZDD_Admin program, and choosing the top menu item EZDD_Special_Functions, and then Change EZDD Database under that. Click the Connect to New EZDD Database button on the screen that appears.
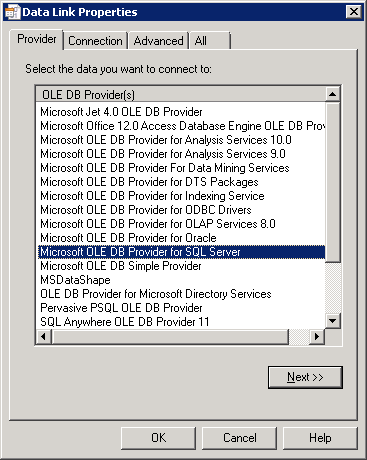
Next will appear the Data Link Properties screen, where Microsoft OLE DB Provider for SQL Server can be selected, then click Next.
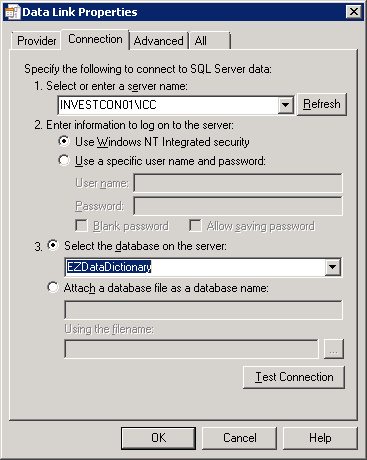
Next will appear the Connection tab. The SQL Server instance should be entered for the location of the EZDD Database (INVESTCON01\ICC in this example), and then either the user code and password to be used when EZDD_Admin is run, or choose windows authentication. Select the EZDataDictionary database from the database drop down list.
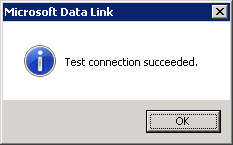
Click on Test Connection and verify that the connection succeeds and displays this window:
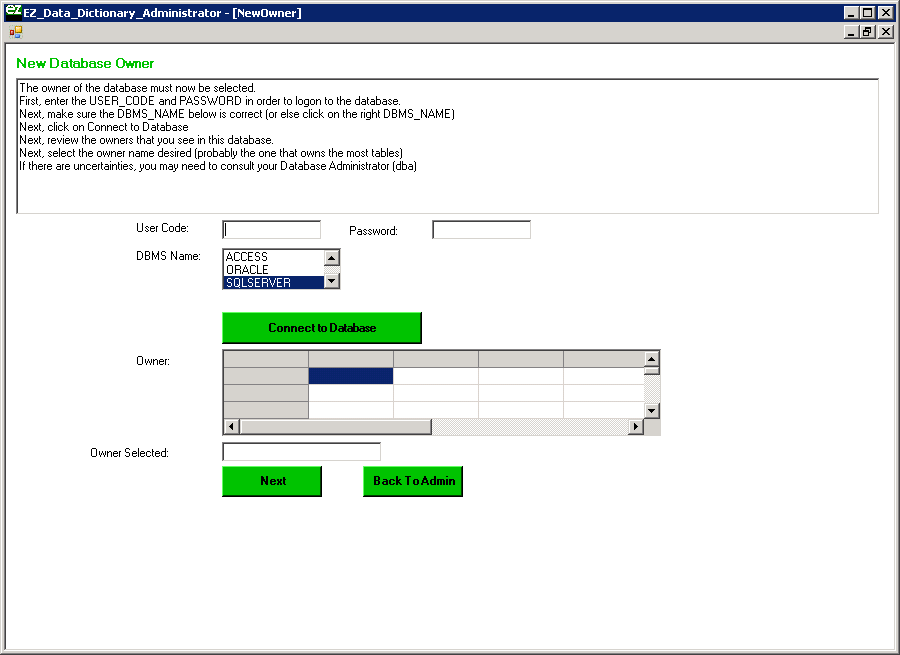
Now, click OK, and OK again. The New Database Owner screen shown below will appear. Enter the user code and password (or nothing if you are using windows authentication), and make sure the DBMS Name says SQL Server, then click Connect to Database.
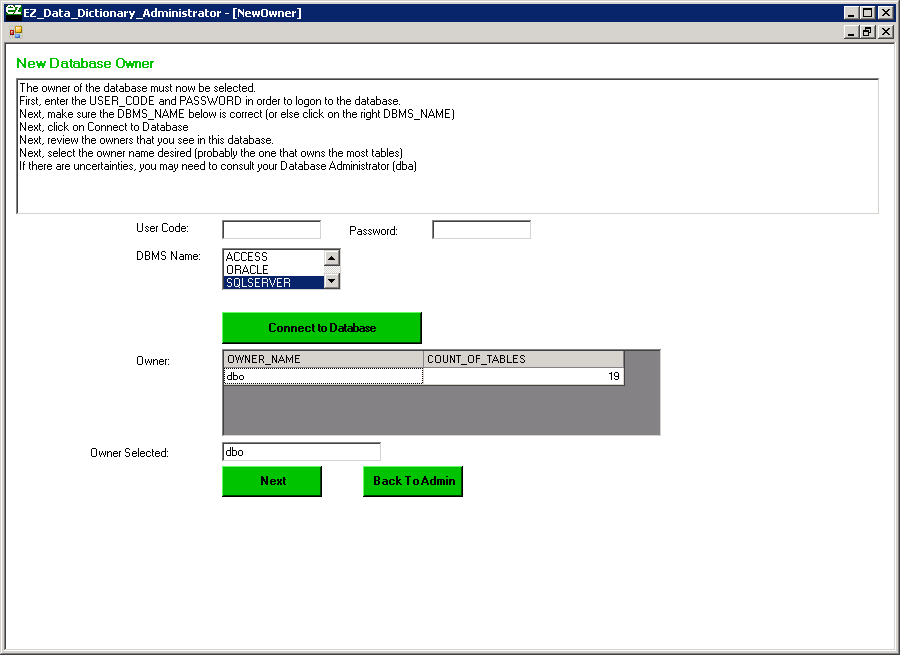
Now select the owner of the EZDD tables (which is dbo in our example), and when that owner appears in the Owner Selected text box, click Next:
A screen will appear showing the configuration information. In most cases any password appearing in the right column should be deleted to force the user to supply that password at logon time. Click on Update and then Next.
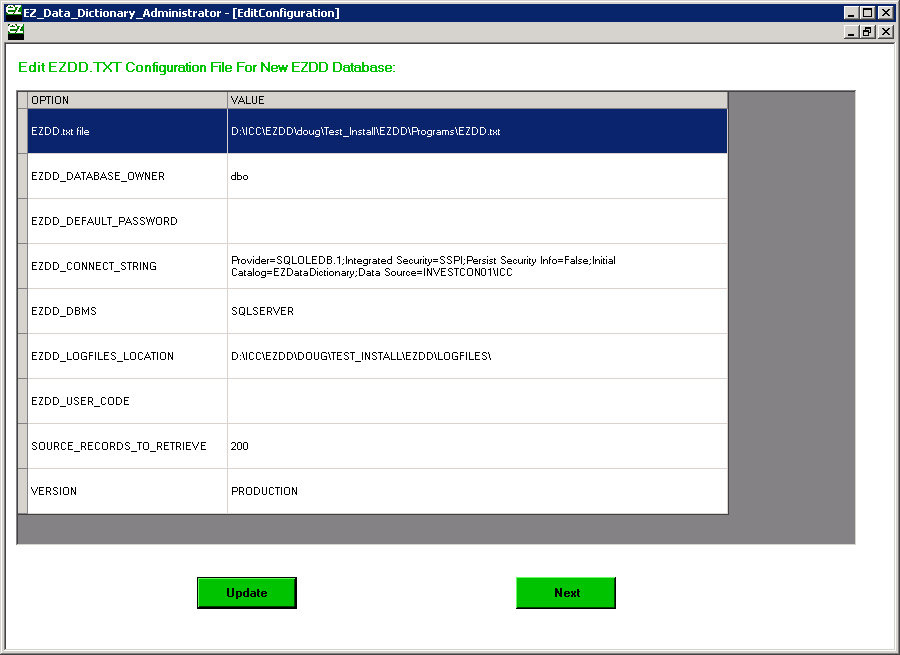
The EZDD Database is now setup in SQL Server, and the EZ Data Dictionary® application will use the EZDD Database in SQL Server each time it is initiated. The C:\EZDD\Programs\EZDD.txt file will be similar to what is shown below, specifying that the EZDD_Connect_String points to the SQL Server version of the EZDD Database.
EZDD.txt file=D:\ICC\EZDD\doug\Test_Install\EZDD\Programs\EZDD.txt
EZDD_DATABASE_OWNER=dbo
EZDD_DEFAULT_PASSWORD=
EZDD_CONNECT_STRING=Provider=SQLOLEDB.1;Integrated Security=SSPI;Persist Security Info=False;Initial Catalog=EZDataDictionary;Data Source=INVESTCON01\ICC
EZDD_DBMS=SQLSERVER
EZDD_LOGFILES_LOCATION=D:\ICC\EZDD\DOUG\TEST_INSTALL\EZDD\LOGFILES\
EZDD_USER_CODE=
SOURCE_RECORDS_TO_RETRIEVE=200
VERSION=PRODUCTION